A Quick Guide to Setting Up a Node on the LTO Network.
Introduction.
The pain with following guides is that they can often be too simple and miss the point or extremely difficult to follow through. This guide tries to achieve the best of both ends; simple to grasp but not too complex to figure out. We will come back to update this guide regularly.
To get a more comprehensive article on the subject — check out this guide by JayJay here.
You can also check the LTO official documentation here to ensure that you are in sync with the most current information. This guide is meant to be used in addition to the previously mentioned resources. It emphasizes the speed of setup and could miss relevant security considerations. Hence, when used in addition to the other article, you have something fast and robust. Let’s get started!
Nodes on the LTO Network.
Nodes are an important part of any blockchain network. They are especially necessary for maintaining decentralization, such that no single entity has higher decision-making ability than others. More nodes means more decision makers and ultimately improved security.
The typical LTO node can be managed from any virtual private server (VPS) depending on the provider you feel provides better security, e.g., AWS, GCP, Azure, etc. The official documentation also provides a platform-specific guide for getting started here.
Generally, every node on the platform can be either of two kinds: Mainnet (Main Network) or Testnet (Test Network). Mainnet is the official network of the LTO network, as the name implies, and is not the place you want to lose your funds or joke around with resources. The testnet, on the other hand, allows you to gain experience with the network while you build out your concept or application, where there could be a lot of risks and experimentation along the way.
Basic Requirements for Setting Up a Node.
To ensure that your node runs smoothly, there are a few things.
- A minimum of 1000 LTO.
- Docker.
- Docker Compose ≥ v3.0.
- System Requirements > 1 vCPU 4Gb RAM 30Gb SSD.
Set up your Wallet.
Your node is the major access point to how you interact with the network’s resources. Your LTO wallet needs a minimum of 1000 LTOs to qualify to spin an associated node.
To get your wallet up:
1. Open this website — https://wallet.lto.network/signin (ensure the URL contains lto.network and nothing else)
2. Click on Create Account.
3. Choose a name for your wallet and a password.
4. Ensure you save your generated seed phrase. (This acts as your private keys and would be instrumental)
Save the seed phrase somewhere safe because you will always need it to access your wallet in the future.
Getting Tokens for your Node.
To run a node, it is required that you have a minimum of 1000 LTO. The reason for this base is that it ensures that the network's computational resources are not depleted by bad actors who do not have some skin in the game.
Thankfully, the LTO token is listed on major CEX and DEX. To get the LTO token, you can follow this guide here.
Although 1000 LTO is the base amount of tokens you need to create a node, it is not enough to allow you to have a profitable node. For your node to be profitable, you need more tokens staked. For added security, it is advised not to lock your tokens in the wallet where you run your node but rather to fund a second wallet and lease the tokens from there to your node. That also guarantees that your node is able to compete favorably to mine tokens.
Setting Up a VPS to run your Node on Digital Ocean.
You can run a node on your local machine anytime, but that would mean having a secure disk that runs the node 24 hours every day without power outages.
1. Opening an Account on Digital Ocean and Setting up a Project.
To get started with interacting with the platform, you need to open the digital-ocean website and register a new account or sign in if you have a previous account here.
Once you have completed your account setup, depending on your country, you may be asked to link a card or select alternative payment sources gateways.
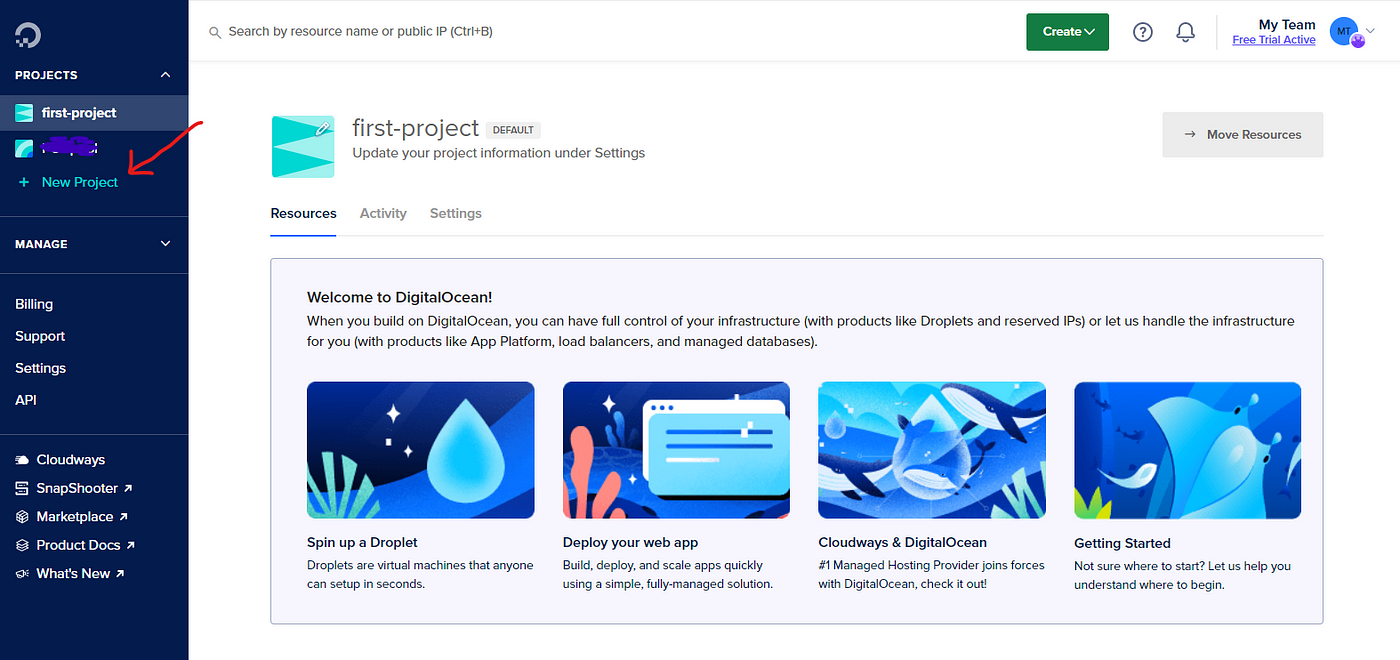
Once in, click on + New Project to start a new project. You can give it any name, such as the name you intend to use for your pool or something close enough.
Start a Project
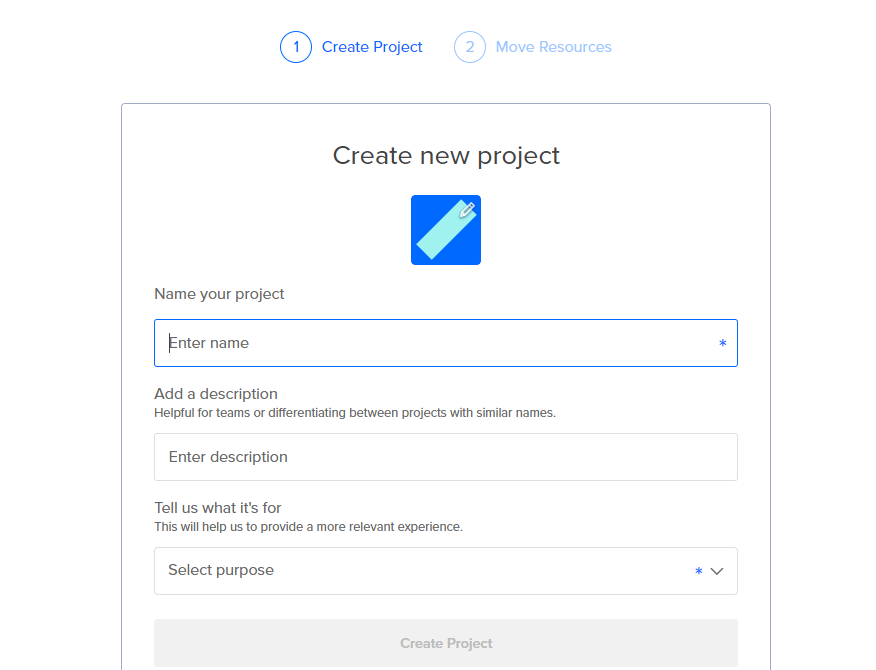
The Next Screen should be like the one below and prompt you to fill in the details. Follow it through.
Create projects
The following prompt is where you can choose the kind of service you want to set up. In our case, we are setting up a droplet, which is a virtual machine on the digital ocean cloud platform.
So click on “Spin up a Droplet”:
Choose an option based on your case
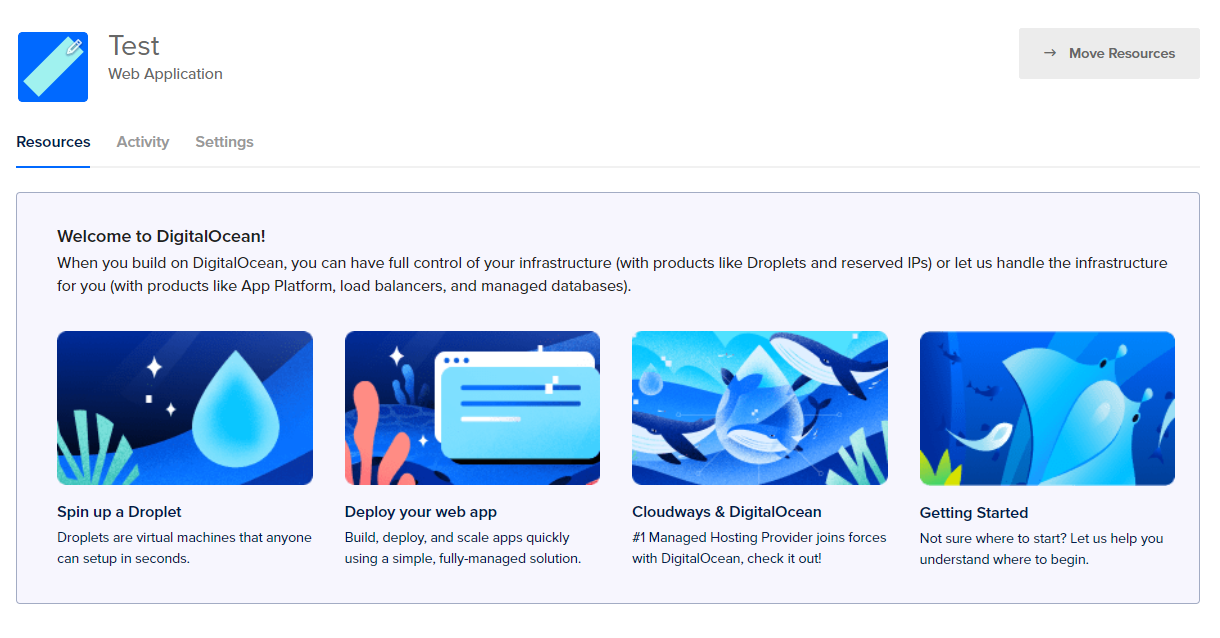
Voilà!!! You just set up the project. I named mine "Test." Now, let's install the necessary resources to help us run our node.
2. Installing an OS.
With your project setup, there’s still some work to do. Like every other computer, you cannot interact with it or do useful work without an Operating System — “OS.”
What we are trying to do here is to set up a remote computer that allows us to run certain processes remotely with 99.9% uptime guaranteed.
Next, you will need to choose a country where you want to run your machine.
A perfect choice to go with for an OS is any Linux distro you feel comfortable with. In this case, I would go with Ubuntu because of its popularity and support structure. Any issues you ever encounter would have most likely been resolved somewhere else.
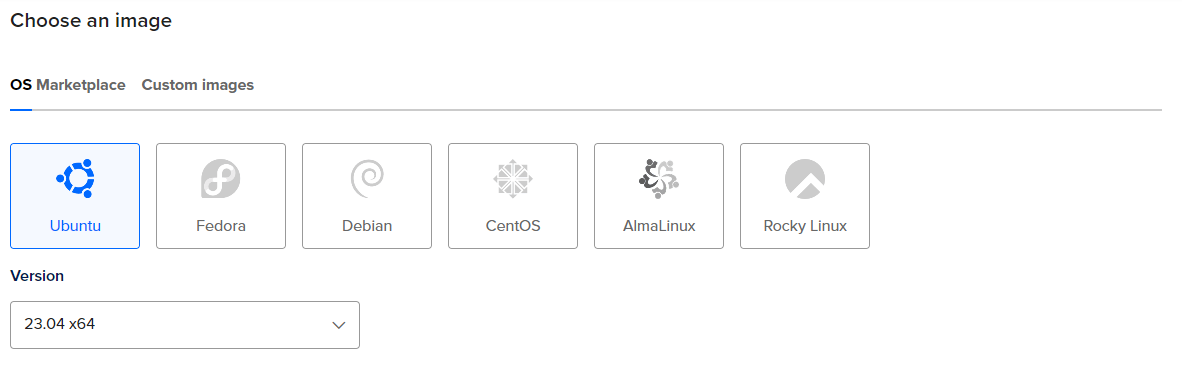
Choose a Linux distro
After choosing your OS, you can go on to select the plans that are convenient for you based on different payment plans. Then, complete the droplet creation.
It would take a while for your OS to get installed and start running fully.
3. Interacting with your OS.
Once your OS provisions and becomes available, it is important that you know how to access it; this way, you can begin to get services running on it like your node.
With your Ubuntu up, Digital Ocean makes your IP available to you. With the IP to your VPS, you can access it from any machine on the globe. This ease of access means that security is very critical at this level. Once your IP is in the open, it could be susceptible to risks.
There are different ways to access your server remotely; SSH is a popular method. Fortunately, Digital Ocean also has an interface that allows you to access your application from its platform. This goes on to improve security compared to creating a password to access it over SSH.
Method 1:
To access and interact with your OS via SSH
Copy the IP address provided to you on your application via Digital Ocean. Set up your root (on Windows, open your PowerShell as an admin)
- ssh root@<ip-address>
- example: ssh root@13.37.13.37
Change the root password (type it twice):
- password (your secret password)
Exit and log in again with your new password:
Now, you can always log in to your server using SSH (a remote desktop protocol).
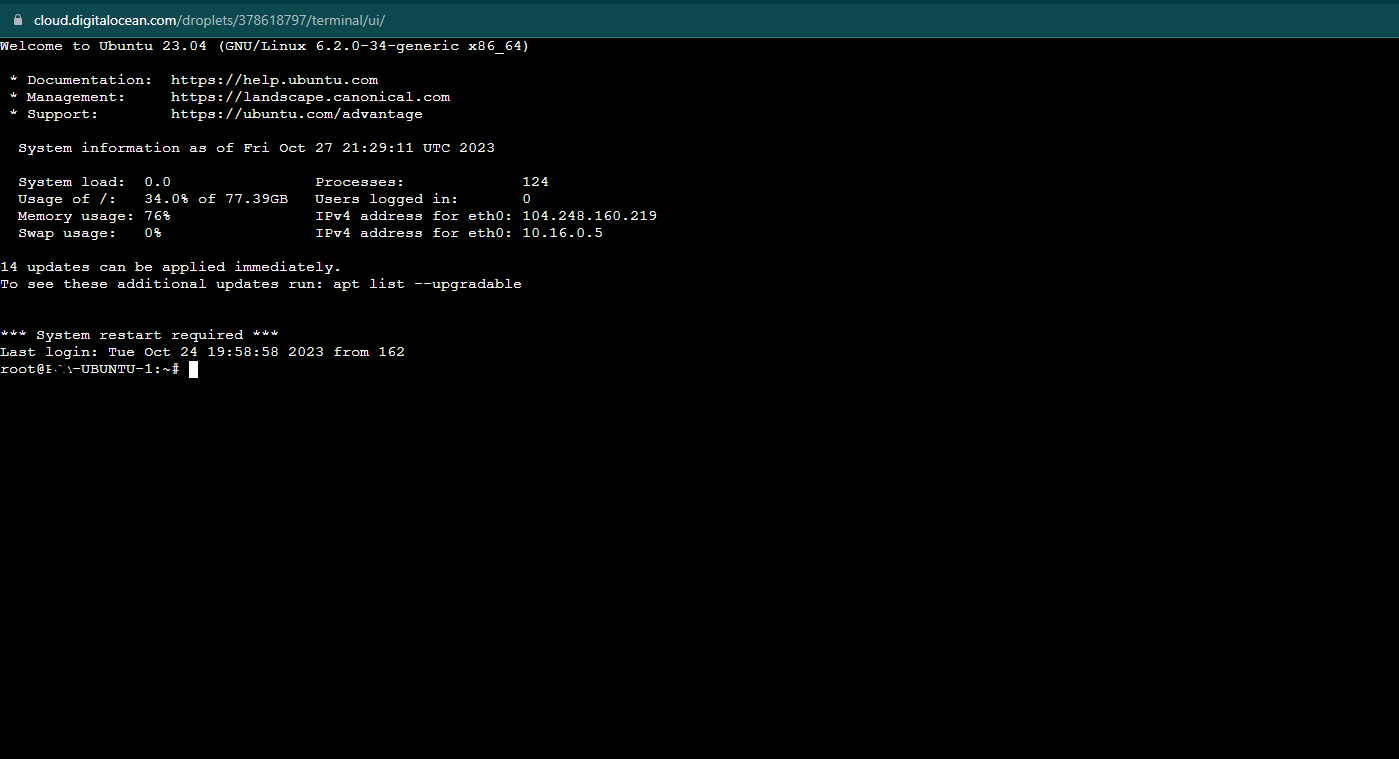
Method 2:
If you want to get up to speed with little risks, you can also access your container easily from the console provided by Digital Ocean. It is much faster and safer. Here’s how you access it:
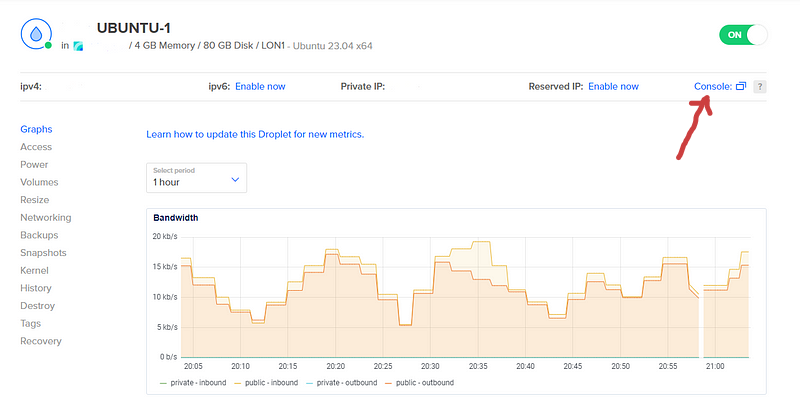
Based on the image above, once you open the particular project where you installed Ubuntu, you will access this interface, which allows you to explore your application. On the top right corner, you will see the link to open the “console” for your project. The console also provides you with an environment to update your Ubuntu application or install other applications.
Right now, we will run updates and an upgrade while we get set to install docker, which will help us provision an environment to run containers for our nodes.
Run the following commands on your terminal:
Reboot your server to apply any kernel updates and then reconnect:
Install the Network Time Protocol (NTP) for time synchronization:
Install the ntpdate package to manually update the system time:
Stop the NTP service before manually synchronizing the time:
Manually synchronize the system time with NTP servers:
Restart the NTP service to resume automatic time synchronization:
Install additional necessary or useful packages, such as the Nano text editor, for editing the docker-compose file in this tutorial:
4. Installing Docker and Docker-Compose.
So far, you are doing great; your Linux OS is live on digital ocean. You now need to install docker, spin up a container, and run your node’s image from your docker-compose.yml file.
Note: You can also find the information here to install docker based on the latest requirements — https://docs.docker.com/engine/install/ubuntu/
From your terminal, run the following commands to install docker:
Verify that docker has been installed:
Also, install docker composer:
If the command docker-compose fails after installation, check your path. You can also create a symbolic link to /usr/bin or any other directory in your path. For example:
This command downloads a test image and runs it in a container. When the container runs, it prints a confirmation message and exits.
Now, give docker the proper privileges:
Exit and log in again to be sure that your updates have been updated so far.
Verify that you can run docker commands without sudo.
5. Starting a Node.
Now, with your docker and docker-compose running, we are one step closer to setting up our node.
To run the container, you need to get the docker-compose.yml file and edit the variables to suit yours. So, let’s dive in.
Head over to the repository: https://github.com/ltonetwork/lto-node/blob/master/public-node/docker-compose.yml
The repo contains the file we will need to create an image to run our node.
Now, go over to your server either through the digital ocean console or your command line via SSH like we previously did. This time, we will need to create a docker-compose.yml file on the server.
Create a docker-compose.yml file:
Open the empty file you just created:
Paste the content from the docker-compose.yml file copied from the GitHub link I previously pasted above. The content of the file looks like this 👇🏽
Copy the content from GitHub and paste it into your own docker-compose.yml file, which you have open on your terminal.
For the next steps, you need to edit the file with some specific information specific to your wallet details.
Add your LTO Wallet seed: Remember that while creating your wallet, you were given a seed phrase, so change the placeholder content to your wallet's seeds phrase (the 15-word phrase created while you were setting up your wallet).
Press ctrl +x and y to close and save the file.
Now, it is time to start your node! Run the following command:
To see the progress, use the following command:
Voilà!!! You now have your node running.
To get extra support, you can join the LTO Telegram channel.
About LTO Network.
LTO Network is Europe’s most advanced blockchain — fully decentralized and highly efficient. It is already being used worldwide by businesses, governments, institutions like the UN, the Dutch government, and more.
The network offers several technologies to provide solutions for decentralized data security, digital identities, privacy, and the ownership of digital assets and digital collectibles.
Stay up to date with LTO Network - X | Ownables Discord | Telegram | Reddit | YouTube | Facebook | Instagram | LinkedIn | Github | .